



Finishing Moroccan zelliges
2 February 2022
Zellige, these beautiful Moroccan tiles are now an integral part of our homes! But how do you finish them?! Zelliges are entirely handmade and therefore far from uniform. This creates a wonderful end result, but it can sometimes make finishing the sides and/or top a challenge.
There are several options available: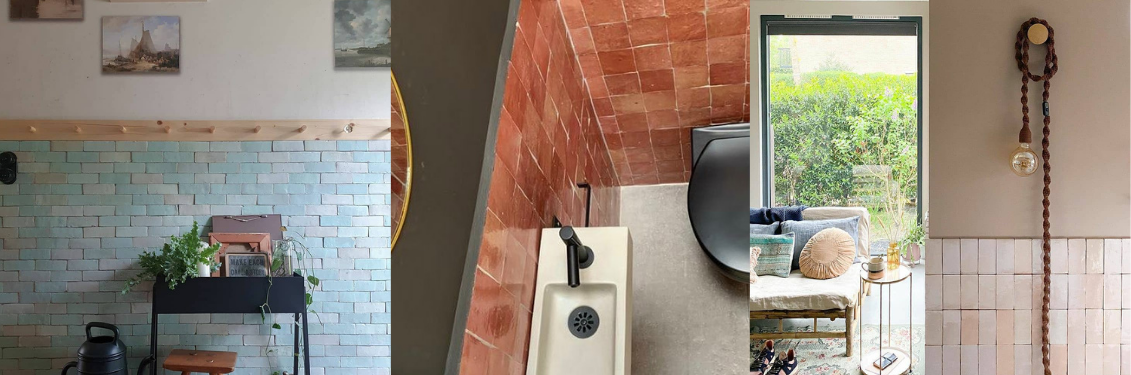
Decorative trim:
You can buy decorative trim (look under: wooden mouldings) at a DIY store. These are available in various shapes, such as quarter-round, half-moon or decorative moulding. They come in a fixed size and may not fit the tile precisely everywhere. However, you can paint them in any colour you like, and they are easy to attach.
Mitre cutting:
An even more beautiful option is to use the same material on the top. You can do this by mitre-cutting the tiles slightly and using them to create the top edges. These then slope slightly upwards and have the same size and appearance as the tile. This does require some extra tiles (allow for the total length in tiles ÷ 2. You can use one tile twice). You can adjust the height / angle if required.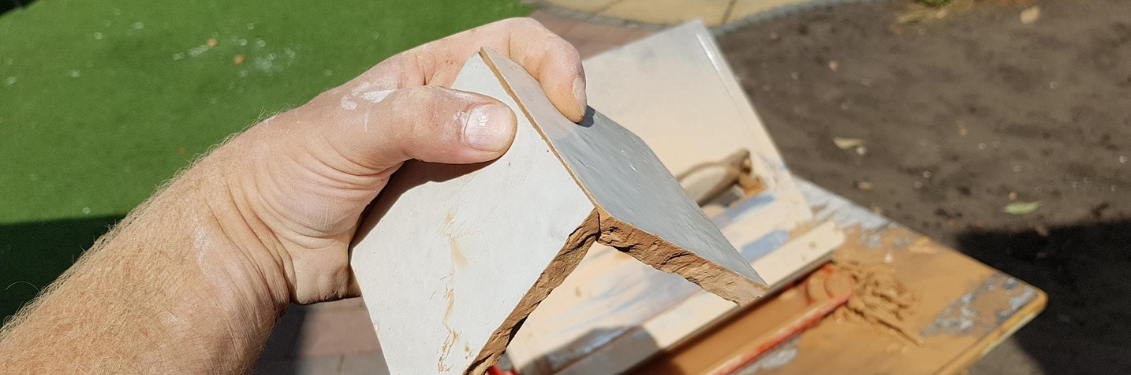
Grout:
You can also extend the grout slightly higher and bring it back towards the wall in a sloping angle or a ‘slide’ curve. This option is inexpensive because you have already bought the grout, it complements the tile and preserves the Mediterranean atmosphere. There are many different grout colours, and you can always paint the grout the colour of the wall or tile so that it fits in better.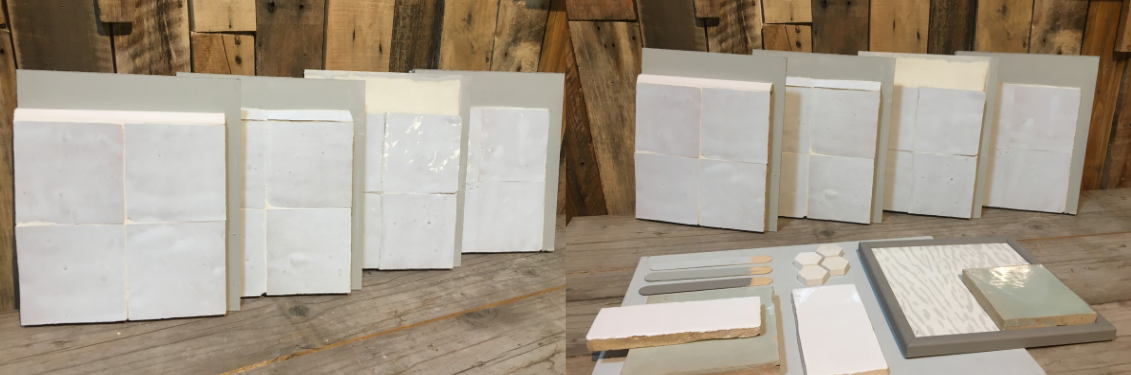
Incorporating them into your plasterwork:
The most beautiful option, but also a very expensive one that cannot always be used, is to have the plasterwork above/beside the tiles run flush with the thickness of the tiles. This makes the tiles appear to be recessed into the wall. This does mean that the wall needs to be built out by approximately 1–1.5 cm for Zelliges and 2–2.5 cm for Bejmats. You will need extra plaster, timber boards or plasterboard for this. Choose the option that suits your situation and your personal preference. That way, you will enjoy them for the longest time!
Did you know that:
- The soil in Morocco is rich in lime? Just look at the back of a tile. You may see small white flecks of lime there. These can expand when the tiles are wetted during fixing and may sometimes push off a piece of glaze. So allow for 10% cutting waste, so that you can replace some tiles.
- The tiles are left to dry in the warm Sahara sun for no less than !! one month !! before they are glazed? The temperature causes variations in the drying process, which ultimately affects the shape and glaze layer.
- The moulds are larger than the final tile size? This size is marked out later and chipped away at an angle. This allows you to fix the tiles very tightly (edge to edge) and means you do not need tile spacers. (Do always grout them afterwards to prevent water and dirt from getting behind them.)
- The tiles are stacked in round kilns like a house of cards? Olive pits are added, creating the beautiful variations in colour. The tiles at the bottom become much hotter than those at the top, resulting in slight colour differences within a batch.
- These tiles need to be wetted before fixing? The tiles are very dry and would otherwise absorb all the adhesive. This also immediately removes any dust and dirt.
- Designtegels.nl is packed with inspirational photos for every room? You can browse to your heart’s content to find the tile that suits you.
- Also watch the video from our factory in Morocco: The making of zelliges